How to Wrap Your PWA for the App Store & Play Store: Complete Guide
TL;DR
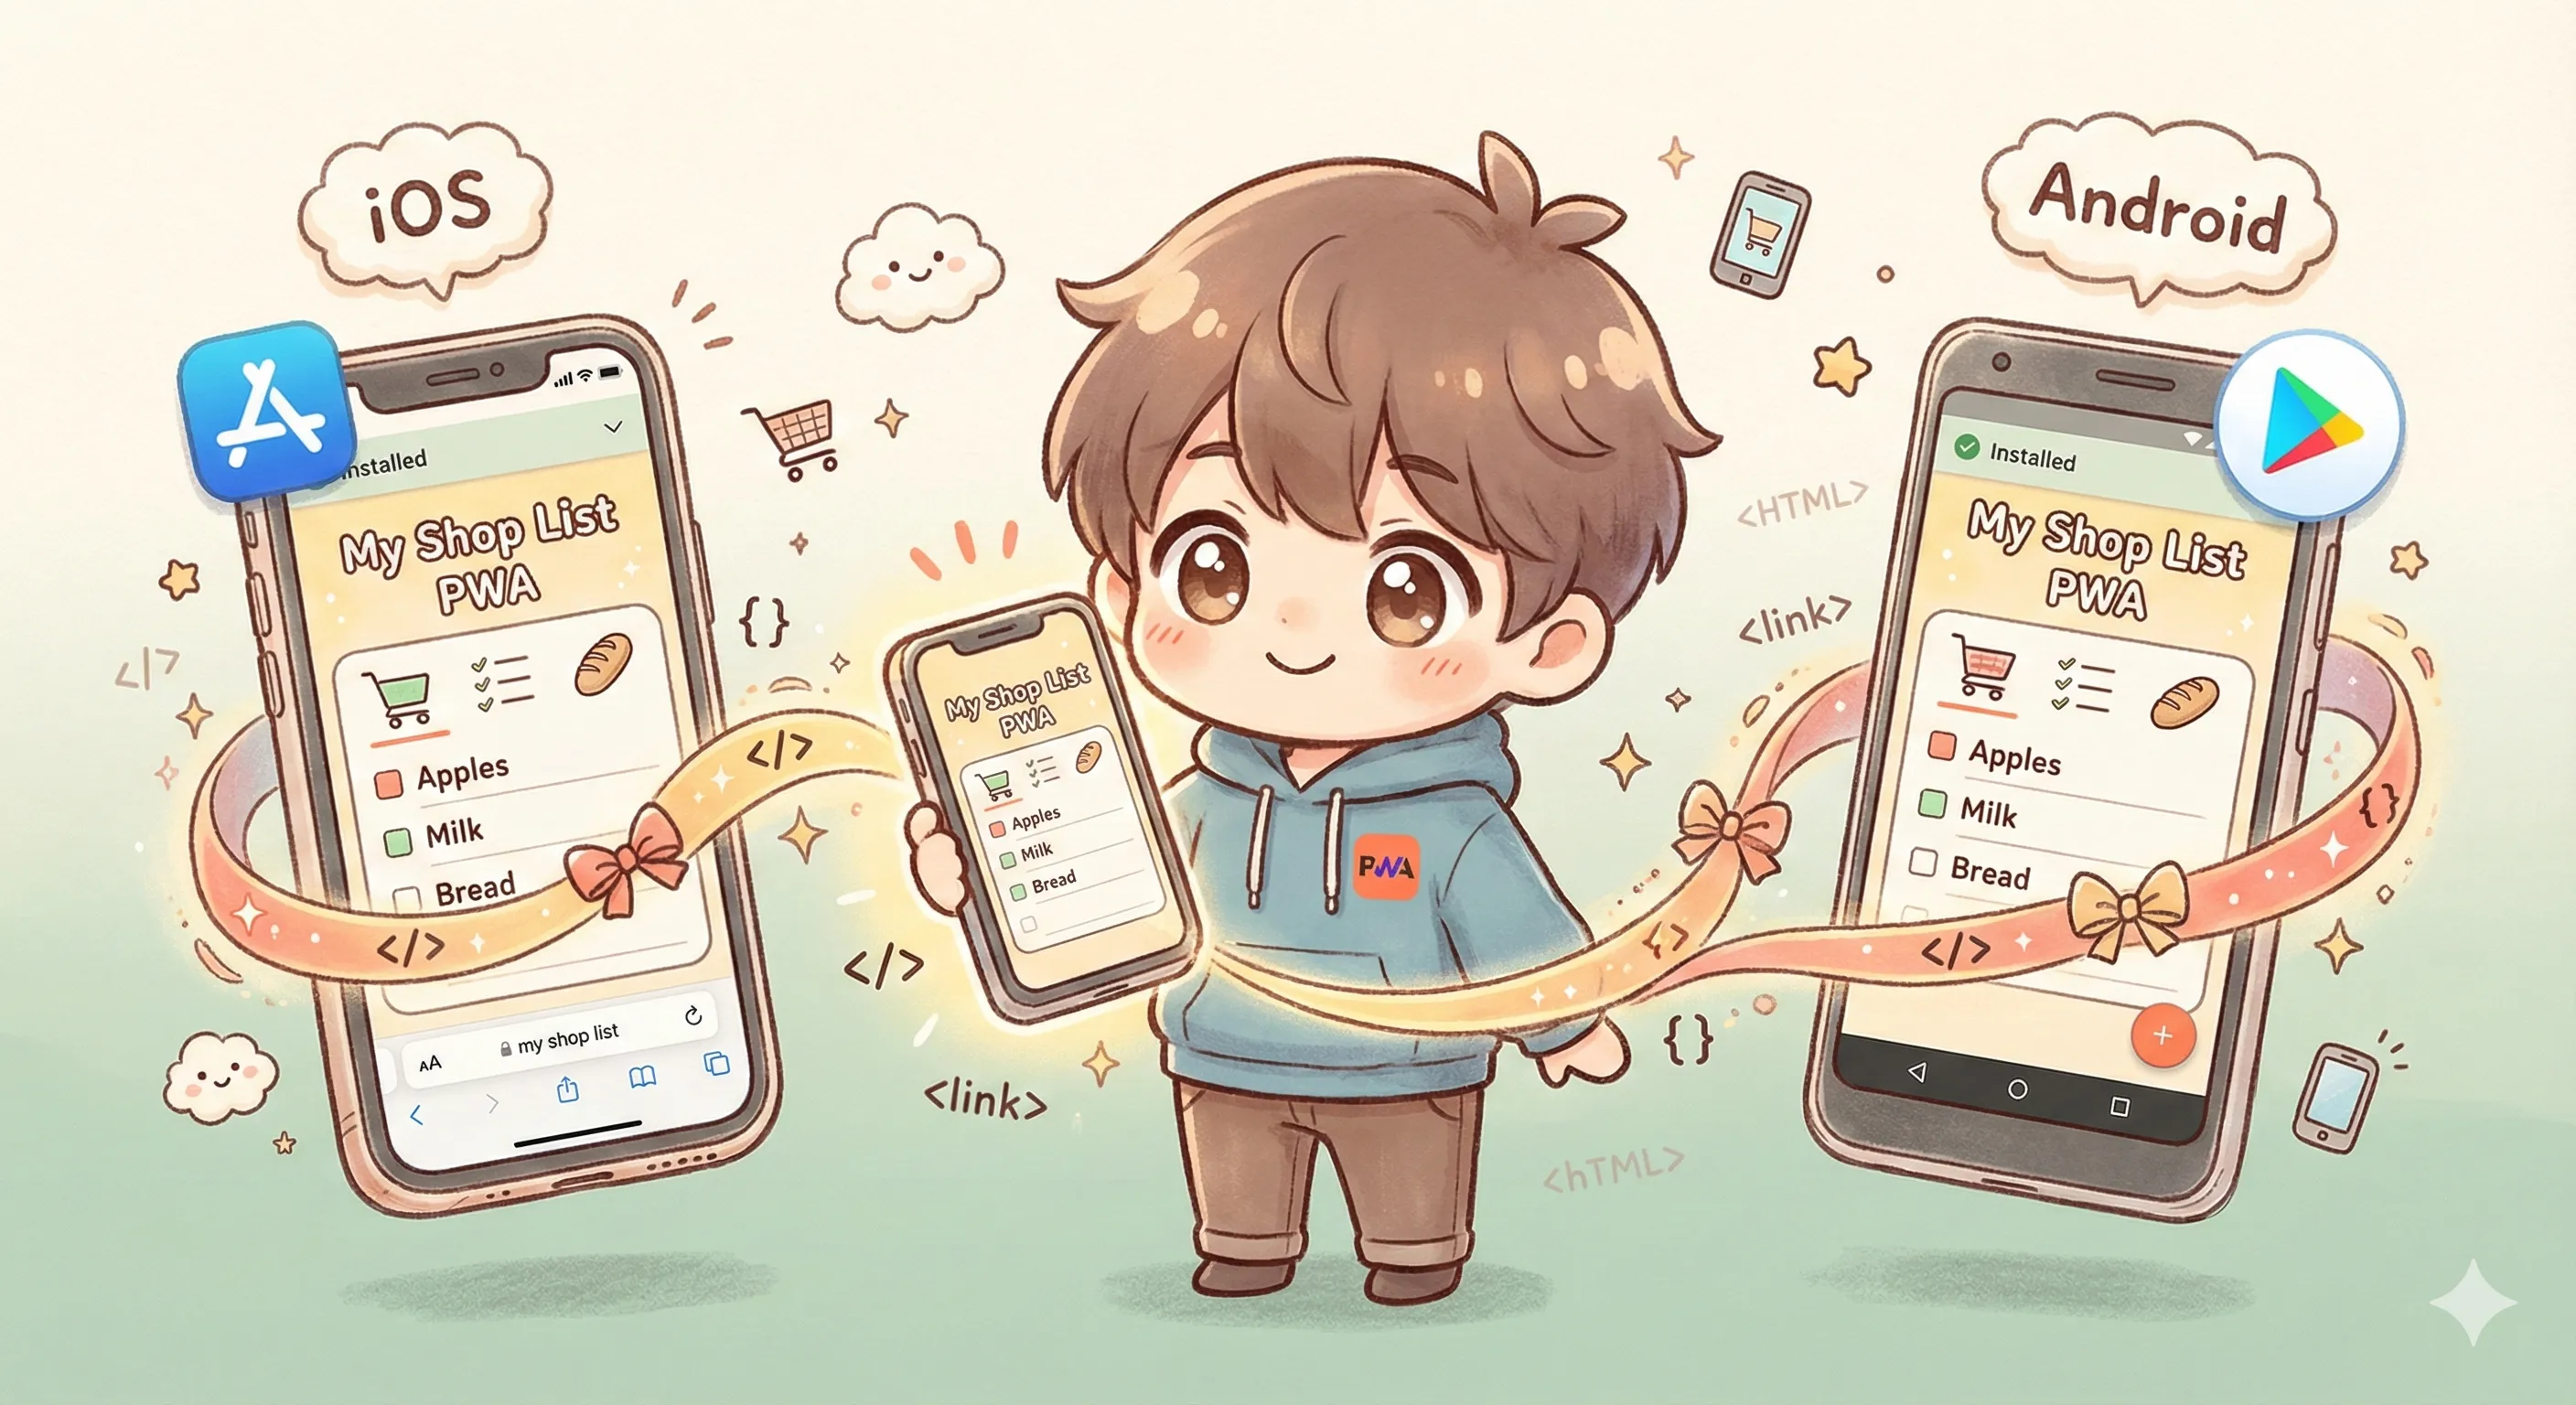
You can publish your PWA to both app stores by wrapping it in a native shell. For Android, use Trusted Web Activities (TWA)—it's basically Chrome running your PWA with zero URL bar. For iOS, you'll need a WKWebView wrapper. Tools like PWABuilder can generate 90% of the code for you. We'll show you exactly how ChibiCart did it, with real code from our production apps.
"Why Not Just Use the PWA?"
Great question! In our previous post about PWAs, we explained why ChibiCart chose PWA technology. PWAs work amazingly well—but here's the reality:
- Many users trust app stores - They search "shopping list" in the App Store, not on Google
- Discoverability - App stores are search engines for apps
- Push notifications on iOS - Native apps still have better notification support
- "Add to Home Screen" is still confusing - Many users don't know how to install PWAs
- Enterprise/MDM deployment - Some organizations only allow app store apps
So we did both. PWA for instant access + native wrappers for the stores.
Two Different Approaches for Two Platforms
Here's the key insight: Android and iOS require completely different approaches.
| Aspect | Android (TWA) | iOS (WKWebView) |
|---|---|---|
| Technology | Trusted Web Activity | WKWebView |
| Browser Engine | Chrome (real browser) | Safari WebKit |
| URL Bar | Hidden (verified domain) | Hidden |
| Service Workers | ✅ Full support | ✅ Full support |
| Setup Complexity | ⭐ Easy (mostly config) | ⭐⭐ Medium (Swift code) |
| Push Notifications | ✅ Works via PWA | ⚠️ Needs native Firebase |
| Tools | PWABuilder, Bubblewrap | PWABuilder, manual |
| Code Required | Mostly Gradle/XML config | Swift + Xcode setup |
Part 1: Android with Trusted Web Activities (TWA)
Trusted Web Activities are Google's official way to run PWAs inside Android apps. It's literally Chrome running your website—but without the URL bar. The best part? Your PWA's service workers, offline support, and all features work exactly the same.
Step 1: Generate the Project
Use PWABuilder.com or Bubblewrap CLI. PWABuilder is easier—just enter your PWA URL and it generates a complete Android Studio project.
Step 2: Configure build.gradle
Here's our actual build.gradle configuration for ChibiCart:
def twaManifest = [
    applicationId: 'com.chibicart.twa',
    hostName: 'chibicart.com',      // Your PWA domain
    launchUrl: '/',                  // Start path
    name: 'ChibiCart',               // App name
    themeColor: '#9EC0A8',           // Status bar color
    backgroundColor: '#FBF7F3',      // Splash screen
    enableNotifications: true,       // Push notifications
    fallbackType: 'customtabs',      // Fallback if no Chrome
]
Step 3: Digital Asset Links (The Secret Sauce)
TWA requires domain verification to hide the URL bar. You need to host a assetlinks.json file at your domain:
https://yourdomain.com/.well-known/assetlinks.json
[{
  "relation": ["delegate_permission/common.handle_all_urls"],
  "target": {
    "namespace": "android_app",
    "package_name": "com.chibicart.twa",
    "sha256_cert_fingerprints": [
      "DA:64:1C:50:FE:8F:46:8F:23:46:06:E5:E1:D1:8C:79:...",
      "B2:14:94:EA:03:E6:90:47:25:A8:E7:FA:F9:A3:1D:56:..."
    ]
  }
}]- Upload key: Your local signing key fingerprint
- Google Play signing key: Get this from Play Console after first upload
Step 4: The Launcher Activity
The actual Java code is surprisingly minimal:
// That's literally it - just extend the base class!
public class LauncherActivity
    extends com.google.androidbrowserhelper.trusted.LauncherActivity {
    // All the magic happens in the parent class
}
Yes, really—that's it! The androidbrowserhelper library handles everything. All your configuration comes from build.gradle.
Build & Publish
# Build release AAB for Play Store
cd source
./gradlew bundleRelease

# Output: app/build/outputs/bundle/release/app-release.aab

# Or build APK for testing
./gradlew assembleRelease
Part 2: iOS with WKWebView
iOS doesn't have an official "Trusted Web Activity" equivalent. Instead, you create a native Swift app with WKWebView that loads your PWA. It's more work, but gives you more control.
Step 1: Configuration File
First, define your settings. Here's our actual Settings.swift:
// Settings.swift - The only file you really need to edit
let rootUrl = URL(string: "https://chibicart.com")!

// Whitelist domains for WebView (include auth providers!)
let allowedOrigins: [String] = [
    "chibicart.com",
    "accounts.google.com",  // For OAuth
    "firebaseapp.com",      // For Firebase Auth
]
Step 2: Create the WebView
The WebView configuration is where the magic happens:
// Key WKWebView config for PWA behavior
let config = WKWebViewConfiguration()

// Critical: persist data (localStorage, cookies)
config.websiteDataStore = WKWebsiteDataStore.default()

// PWA-friendly settings
config.allowsInlineMediaPlayback = true
config.preferences.setValue(true, forKey: "standalone")

let webView = WKWebView(frame: frame, configuration: config)
webView.allowsBackForwardNavigationGestures = true  // Swipe nav
Step 3: Handle Navigation (Keep Users In-App)
This is crucial—you need to decide which URLs open in your app vs. Safari:
// Core logic: allow your domains, open external in Safari
func decidePolicyFor(navigationAction: WKNavigationAction, ...) {
    guard let host = navigationAction.request.url?.host else { return }

    // Your domains → load in WebView
    if allowedOrigins.contains(where: { host.contains($0) }) {
        decisionHandler(.allow)
    } else {
        // External → open in Safari
        decisionHandler(.cancel)
        present(SFSafariViewController(url: url), animated: true)
    }
}
Step 4: Push Notifications (iOS-Specific)
Unlike Android TWA, iOS WebView apps need native Firebase integration for push notifications:
// AppDelegate.swift - Firebase setup
func application(_ application: UIApplication, ...) -> Bool {
    FirebaseApp.configure()
    Messaging.messaging().delegate = self
    application.registerForRemoteNotifications()
    return true
}
The Honest Pros & Cons
After shipping ChibiCart to both stores, here's our honest assessment:
✅ The Good
- Single codebase - 95% of your code is the PWA. Native wrappers are minimal.
- Instant updates - Update your PWA, app updates automatically. No store review needed.
- App store presence - Users can find you in store searches
- Offline works perfectly - Service workers function identically
- Deep linking works - Universal links/app links open your app
- Analytics carry over - Same GA4/analytics work in the wrapper
⚠️ The Challenges
- iOS push notifications - Requires native Firebase setup, can't use web push
- Apple review friction - Apple is skeptical of WebView apps. You may get rejected with "not enough native functionality"
- Google Play review - Google's automated checks sometimes flag TWA apps incorrectly
- iOS auth gotchas - OAuth flows can be tricky (more on this below)
- TWA requires Chrome - Older Android devices might not have compatible Chrome
- Two codebases to maintain - Even minimal code needs updates for SDK changes
🤔 Things That Caught Us Off Guard
1. OAuth Redirects in iOS WebView
Google Sign-In and other OAuth providers don't love WKWebView. You'll need to whitelist domains carefully and may need to useSFSafariViewController for auth flows. We spent a solid week debugging this.
2. Play Store's 14-Day Testing Requirement
New apps need 14 days of closed testing with 20+ testers before production. Plan for this in your launch timeline.
3. Asset Links Timing
Digital Asset Links verification happens at install time. If your assetlinks.json isn't deployed yet when someone installs, they'll see a URL bar. Make sure it's live before your first Play Store upload.
Tools We Used
- PWABuilder - Generates both iOS and Android projects from your PWA URL
- Kestrel Tools Favicon Generator - Highly recommended! Generates all icon sizes for iOS, Android, and web from a single image. Also creates your
site.webmanifestfile. Saved us hours of manual resizing. - Bubblewrap CLI - Google's official TWA generator (Android only)
- Asset Links Tool - Google's tool to verify your assetlinks.json
- Android Studio - For building and signing Android apps
- Xcode - For building iOS apps (Mac required)
💡 Pro tip on icons:
Both iOS and Android require multiple icon sizes (16px to 1024px). Instead of manually creating each one, Kestrel Tools generates everything from a single 1024x1024 source image—including the web manifest. Just upload, download the zip, and you're done.
Our Verdict: Is It Worth It?
Yes, absolutely.
The initial setup takes about 2-3 days for Android and 4-5 days for iOS (including the App Store setup and review). But after that, maintenance is minimal. We update ChibiCart's PWA frequently, and the native apps just work—no re-deployment needed.
The key insight:
PWA is your product. Native wrappers are just distribution channels.
Invest your time in the PWA. The wrappers are one-time setup that pays dividends through app store discoverability.
Quick Start Checklist
For Android:
- ☐ Generate project via PWABuilder
- ☐ Configure build.gradle with your app details
- ☐ Create signing keystore (save it securely!)
- ☐ Deploy assetlinks.json to /.well-known/
- ☐ Build AAB and upload to Play Console
- ☐ Wait 14 days in closed testing
- ☐ Submit for production review
For iOS:
- ☐ Generate project via PWABuilder
- ☐ Install CocoaPods dependencies
- ☐ Add GoogleService-Info.plist for Firebase
- ☐ Configure Settings.swift with your domains
- ☐ Set up App Store Connect entry
- ☐ Configure Universal Links (AASA file)
- ☐ Archive and upload via Xcode
- ☐ Submit for App Store review
The Bottom Line
Wrapping a PWA for app stores is:
- ✅ Totally viable for production apps
- ✅ Maintainable with minimal ongoing effort
- ✅ Faster than building native from scratch
- ⚠️ Has quirks you'll need to work through
- ⚠️ Requires initial setup time (budget 1-2 weeks)
For ChibiCart, it was the perfect solution: one PWA codebase, three distribution channels (web, iOS, Android). Users get to choose how they prefer to access their shopping lists.
See It In Action
ChibiCart is available on iOS, Android, and the web—all powered by one PWA.
Written by the ChibiCart Team
Building delightful shopping lists with PWAs and native wrappers 🛒📱